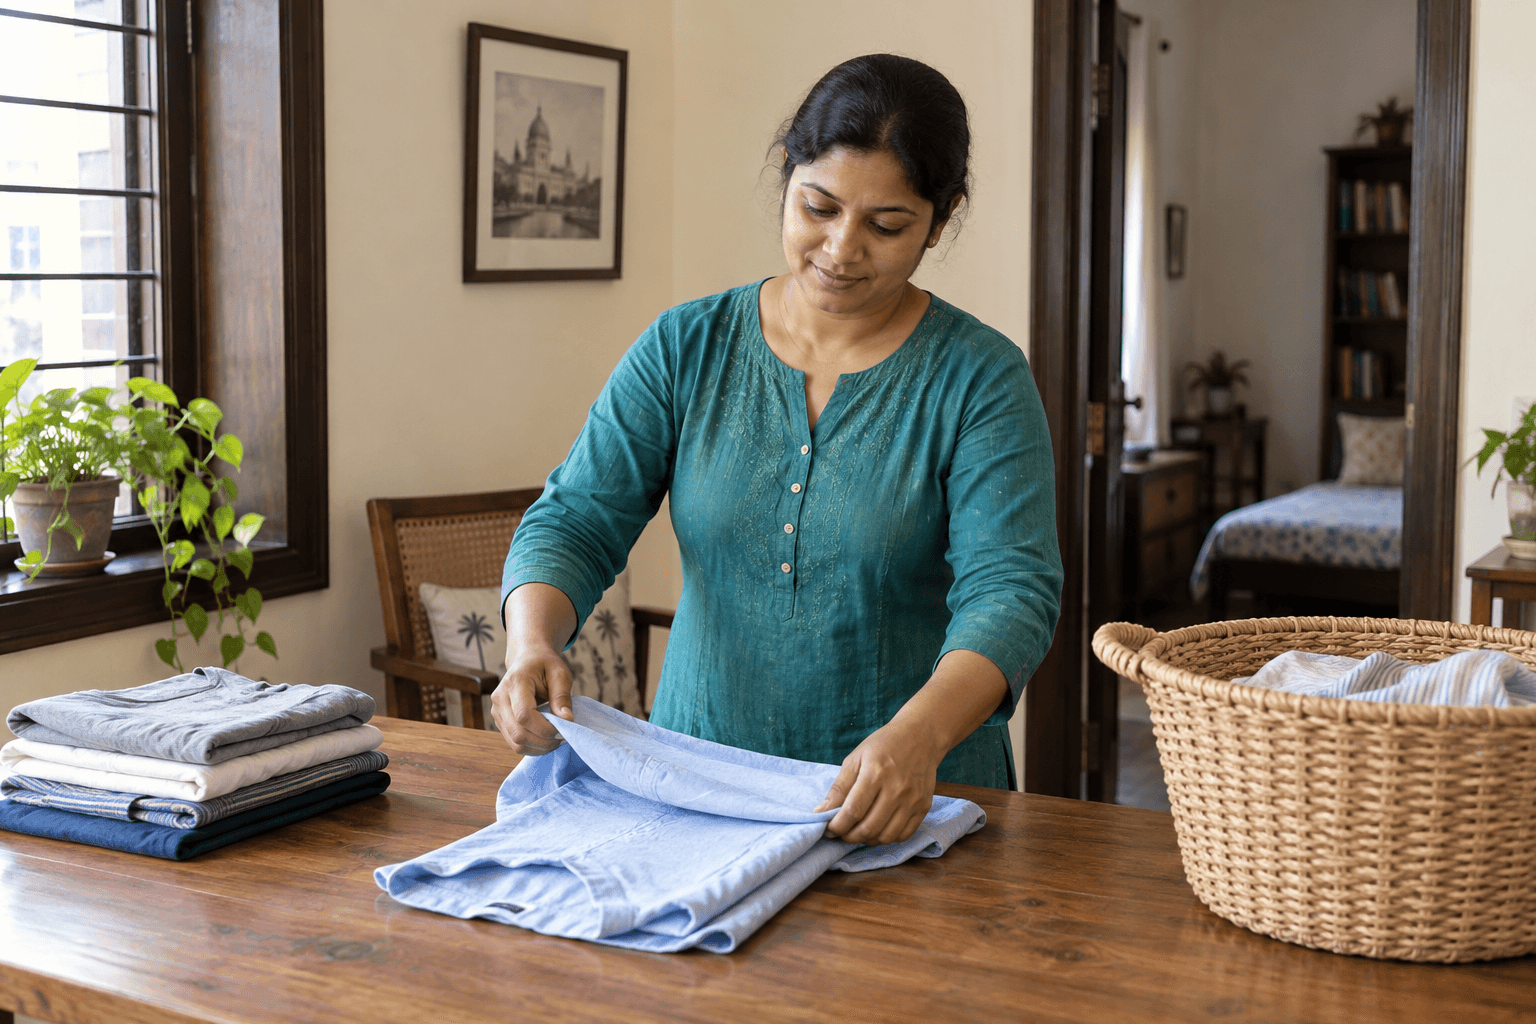
To iron an ordinary shirt, establish its permitted ironing conditions, lay one section flat on a suitable board and work through the collar, cuffs, sleeves, shoulders and body. Reposition the shirt before the next section so folds underneath do not become unwanted creases. Finish by inspecting the agreed result and placing the shirt on its intended hanger or return surface.
This walkthrough applies to a clean, ordinary shirt that is suitable for the available iron. It is not a method for embellished occasion wear, uncertain coatings or garments marked against ironing. It supplies no universal heat setting or permission to use steam.
Identify the shirt you are actually ironing
Read its label and check the appliance instructions. Fabric composition alone does not settle the treatment of a finished garment with trims, buttons or other components. If instructions are missing or conflict, resolve them before applying heat.
Ask whether the owner wants sleeve creases and how the shirt should be returned. Those are finish choices, not safety settings. The shirt finish brief records those preferences when several people share the task. This guide explains the physical sequence after that decision has been made.
Use a suitable ironing board set up according to its instructions, with an appropriate clean cover and room to reposition the garment. Keep the iron's cable and the working area arranged according to the appliance guidance. Prepare the hanger or other agreed return arrangement before switching on. The station readiness check is useful if the household setup has changed.
Follow a section order you can inspect
Rowenta's shirt guide describes working through the following areas. The garment's permitted heat and steam conditions control each step:
| Section | Practical movement |
|---|---|
| Collar | Lay it open and flat. Work the underside, then the other face, without trapping folds. |
| Cuffs | Open them, smooth the inside and then the outside, working around buttons. |
| Sleeves | Align the seams, smooth one side, turn and repeat. Match the agreed crease preference. |
| Shoulder and yoke | Position the shaped upper section on the board so the area being worked is flat. |
| Front panels | Work one panel at a time, navigating between buttons rather than over them. |
| Back | Reposition to expose the remaining areas and work in manageable sections. |
Keep movements controlled and inspect each section before moving on. A shirt is easier to assess in sections than as an undifferentiated pile on the board.
Reposition before correcting a wrinkle
When an unexpected line appears, put the iron on its designated rest before rearranging the garment. Check whether the line comes from a fold under the working section, a seam that has shifted or the owner's intended crease. These are different situations and should not all trigger stronger pressure.
Spread the next section so the part you intend to work on is visible. If the rest of the shirt pulls it out of position, support or reposition the garment rather than chasing it with the iron. Do not use your other hand near the hot soleplate to flatten a last-second fold.
The Rowenta care guidance advises avoiding buttons and other abrasive fittings with the soleplate and using the designated heel or base appropriate to the model. Follow the actual iron's instructions for pauses, filling, shutdown and cooling. This board-based tutorial does not ask anyone to hold a shirt while directing vertical steam at it.
Fictional example: a work shirt without sleeve creases
A household provides one clean everyday shirt, its readable care label and a familiar iron with available instructions. The owner requests a smooth finish without deliberate sleeve creases and wants the shirt returned on a hanger. The person ironing checks the permitted settings and confirms that the appliance supports them.
The first sleeve lies unevenly because fabric underneath has folded near the seam. Instead of increasing heat, the person rests the iron, lifts and lays the sleeve again, then inspects both sides. This resolves the positioning problem before further ironing.
On the second front panel, a persistent mark remains near the pocket. It was visible before ironing. The person finishes only the permitted routine, records the remaining mark and asks the owner whether separate assessment is wanted. The garment is not subjected to an improvised stain treatment at the ironing board.
| Observation | Decision in this fictional example | Result to communicate |
|---|---|---|
| Sleeve is unevenly positioned | Rest the iron and reset the fabric | Position corrected before continuing |
| Owner requested no added sleeve crease | Follow the agreed finish | No intentional sharp line added |
| Pocket-area mark remains | Do not improvise treatment | Mark remains after the ordinary task |
| Shirt needs hanging | Use the prepared hanger | Finished item goes to its agreed destination |
| One item is complete | Check that item as a whole | Completion is based on the shirt, not elapsed minutes |
The example does not establish a completion time or a guaranteed finish. It shows why a positioning problem, a preference and a remaining mark require different responses.
Inspect the complete shirt
View the front and back in ordinary good light. Check the collar, both cuffs, each sleeve and the body rather than judging only the most visible panel. Confirm that the requested crease choice was followed and that buttons, pockets and seams were not treated as flat uninterrupted fabric.
If one area needs attention, identify that area rather than starting the entire shirt again. Stay within the permitted method. A mark, shine or change in fabric appearance is a reason to stop and assess, not an invitation to keep applying heat until it disappears.
Put the garment in its agreed return arrangement without crushing the completed sections under waiting clothes. Keep completed and unworked shirts distinguishable. Where several items are handed over, the garment count receipt records what was received and returned.
Set a useful first-visit expectation
For an unfamiliar household, begin with one accepted ordinary shirt and review its finish before treating a large batch. This reveals practical preferences without turning one sample into a guarantee for every garment. A different cut, care label or trim may need a different decision.
For ironing help in Kolkata, share the garment types, household equipment and preferred return arrangement by WhatsApp or call. Confirm the scope and complete quote before booking. Do not infer specialist pressing, repair or stain-removal availability from this everyday tutorial.