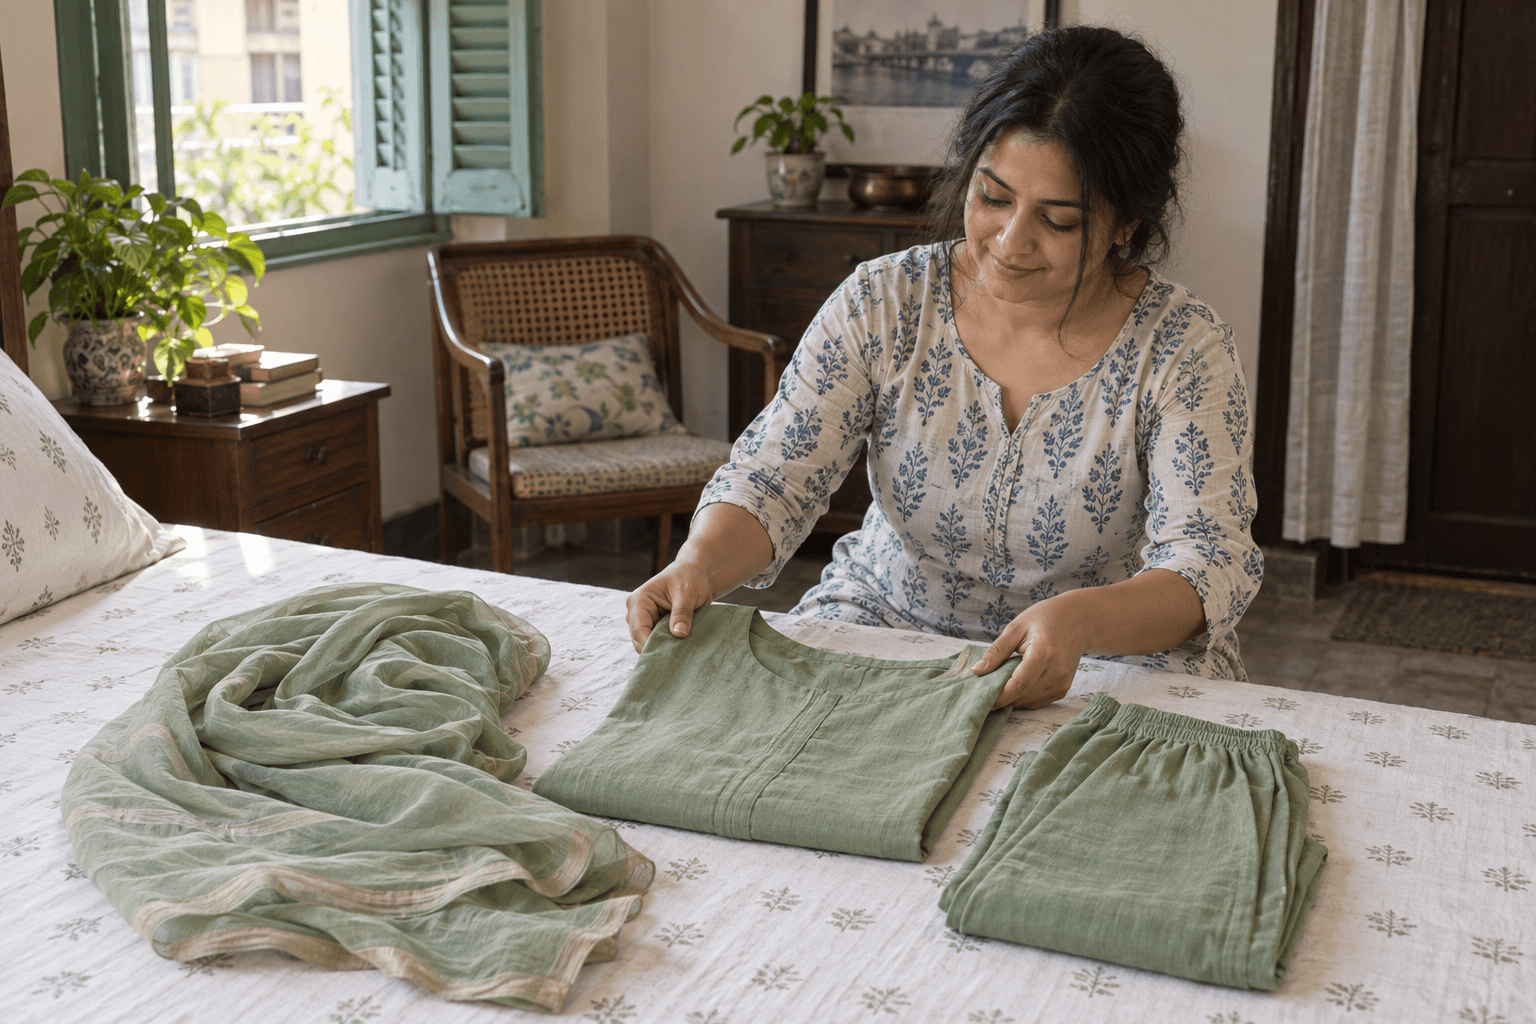
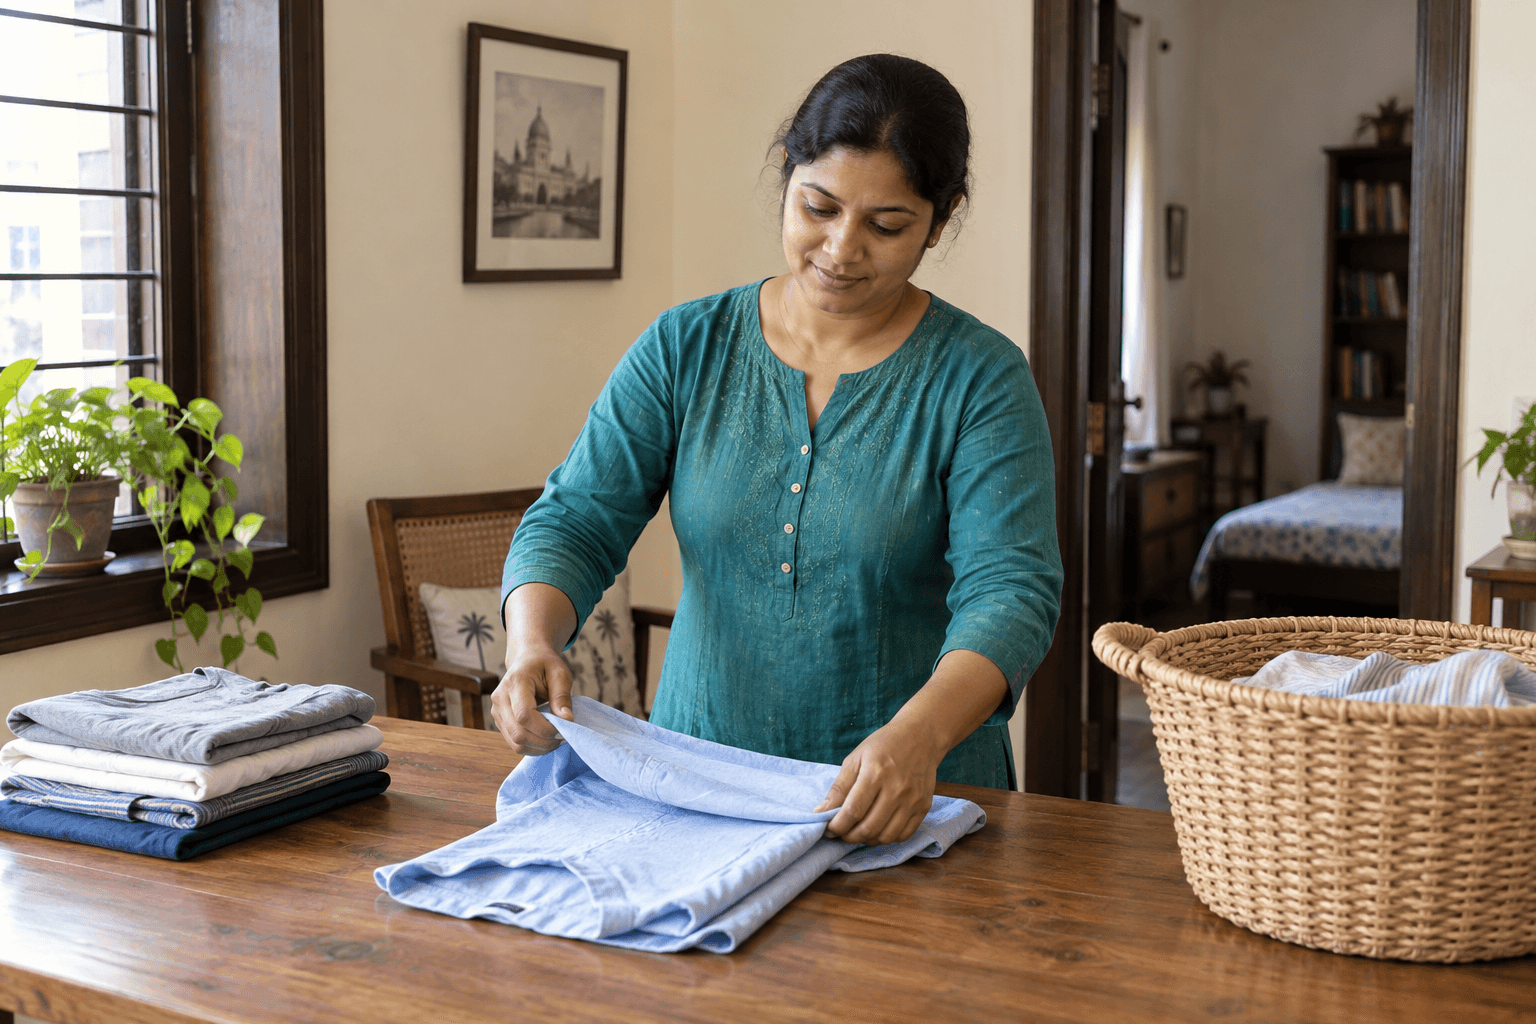
To fold ordinary clothes, first make the garment into a flat rectangle, then shorten that rectangle to suit its drawer or shelf. Keep the fabric relaxed and adjust the last fold to the available space. A useful fold lets you recognise an item, take it out and return it without rebuilding the whole pile.
The walkthrough below covers everyday tops, trousers and matching sets. Garments with structured tailoring, delicate decoration or specific storage instructions may need another approach. Keep their own instructions in view. Folding is also separate from washing, drying and ironing: this guide begins with clothes ready to put away.
Prepare one garment and its destination
Clear a clean, dry surface large enough to spread the item without pulling it over an edge. Start with an ordinary T-shirt that you already store folded. Practise on one item before changing a drawer full of clothes.
Look inside the intended drawer or shelf. Notice its usable height, the width of the compartment and whether a handle or runner intrudes. A neat bundle that catches when the drawer closes is the wrong size for that location. You do not need identical dimensions for every garment, but similar everyday items should fit the same retrieval pattern.
Choose between a low stack, where the top garment is lifted away, and a row where each folded item is visible from above. Both can work. IKEA’s clothes-organisation guide discusses folded piles and upright storage; the household still needs to choose an arrangement it can maintain.
Fold a T-shirt into a rectangle
- Lay it flat, front facing down. Spread the sleeves and align the side seams without stretching the neckline.
- Bring one side towards the middle. Fold a narrow strip of the body inward along a straight line from shoulder towards hem. Bring that sleeve back over the folded strip so it stays inside the body outline.
- Repeat on the other side. Aim for a long rectangle. Adjust the side folds if one side is much wider; do not pull one corner to force symmetry.
- Check the lower edge. Smooth an obvious bunch with your palm. If the garment is twisted, reopen the affected fold and realign it.
- Shorten the rectangle. For a low shelf stack, bring the hem towards the neck end to make a half-length bundle. For a drawer row, try folding the lower third upward and the remaining third over it.
- Try the destination. Place the bundle in its compartment. If it is too tall, change the final folds; if excessively thick, use fewer folds and a wider space.
A rectangle followed by a compact fold is also demonstrated in KonMari’s official folding introduction. There is no need to master a speed trick. Repeatable handling is more useful than finishing one shirt quickly and unfolding it again to find where it belongs.
Adapt the method for sleeves and heavier tops
For a long-sleeved everyday top, bring each sleeve across the back as you make the side fold, then turn the sleeve down along the rectangle if its cuff extends beyond the opposite side. Keep cuffs within the outline before shortening the body. A sleeve left sticking out often catches the next item when you take the bundle from a row.
For a thicker top, use a broader rectangle and fewer final folds. Do not force a thick garment into the dimensions used for a light T-shirt. A wider shelf position may work better than the narrow drawer compartment.
UNIQLO’s sweater-storage guidance describes folding sleeves behind the body to form a rectangle. Use that as a shape principle, while following the actual garment’s storage directions. Avoid pulling knitwear into a stretched shape merely to make its edges match another item.
Fold ordinary trousers or pyjama bottoms
Lay the trousers flat and bring one leg over the other, matching the waistband and hems. Settle the seams so the legs lie together. If the seat projects from the folded outline, gently bring that projection inward to create a more even long shape.
Bring the hems towards the waistband for a half-length fold. If the space needs a shorter bundle, make another broad fold or fold the length into thirds. Check that a thick waistband has not become a hard lump beneath several layers. Choose fewer folds if that happens.
This approach suits ordinary items the owner wants folded. Trousers with an established pressed crease need the owner’s finish preference, and a formal garment may be intended for hanging. Do not introduce a new crease across an item merely because the casual trousers beside it are folded that way.
Keep a matching set understandable
Fold the top and bottom separately first. Then place them together in one agreed position, or loosely group the smaller piece within the larger folded bundle if that works for the actual items. Avoid a tight wrap that makes the outer garment difficult to open.
A set needs to be identifiable when someone is in a hurry. If several pyjama sets have similar colours, keep a distinctive edge visible or use an agreed compartment. Do not add adhesives or tags directly to garments without the owner’s permission. For a multi-piece outfit, check that all pieces have reached storage rather than hiding an incomplete set at the back.
Fictional example: fix one crowded drawer
A fictional household has a shallow drawer containing everyday tops, two thick sweatshirts and matching nightwear. The first attempt makes every item into the same small bundle. The sweatshirts become too tall and the drawer catches.
They try the following adjustment instead:
| Group | First attempt | Adjustment | Retrieval check |
|---|---|---|---|
| Everyday T-shirts | High stack | A visible row of similar-width bundles | One shirt lifts out without the whole row coming out |
| Thick sweatshirts | Tight thirds | Broad half-folds on an agreed shelf | Shelf edge supports the whole bundle |
| Matching nightwear | Separate scattered pieces | Top and bottom together in one compartment | Both pieces are found together |
| Formal trousers | Mixed with casual bottoms | Returned to the owner’s agreed hanging place | Existing finish remains undisturbed |
The family does not discard clothes or buy a divider to make the test look successful. It changes the folding method where it does not suit the space. These are fictional observations, not promised results for another wardrobe.
Find-and-return test
Ask the person who uses the clothes to choose one item, remove it and put it back. Notice where the arrangement becomes difficult. A row packed so tightly that everything rises together needs more room. A very tall stack may need dividing into shorter groups. If two people share a drawer, agree the boundary before returning both sets of belongings.
Leave enough working space for the next clean items to arrive. Filling every available gap can make the next laundry day harder. Keep the aim practical: the household should understand where an item belongs without needing the person who folded it to explain the whole system.
Explain the finish when requesting help
For laundry help in Kolkata, say whether folding and returning items are part of the request, which storage areas may be used and which items should remain separate. Confirm availability, accepted tasks and the complete quote. A folding request does not automatically include ironing or reorganising every cupboard.
If finishing work is also needed, use the ironing workload and priority worksheet to identify the actual items. Keep uncertain care instructions in the garment care register before work begins. Call Anjali Aaya and Nurse Care or enquire on WhatsApp with the scope you want to discuss.